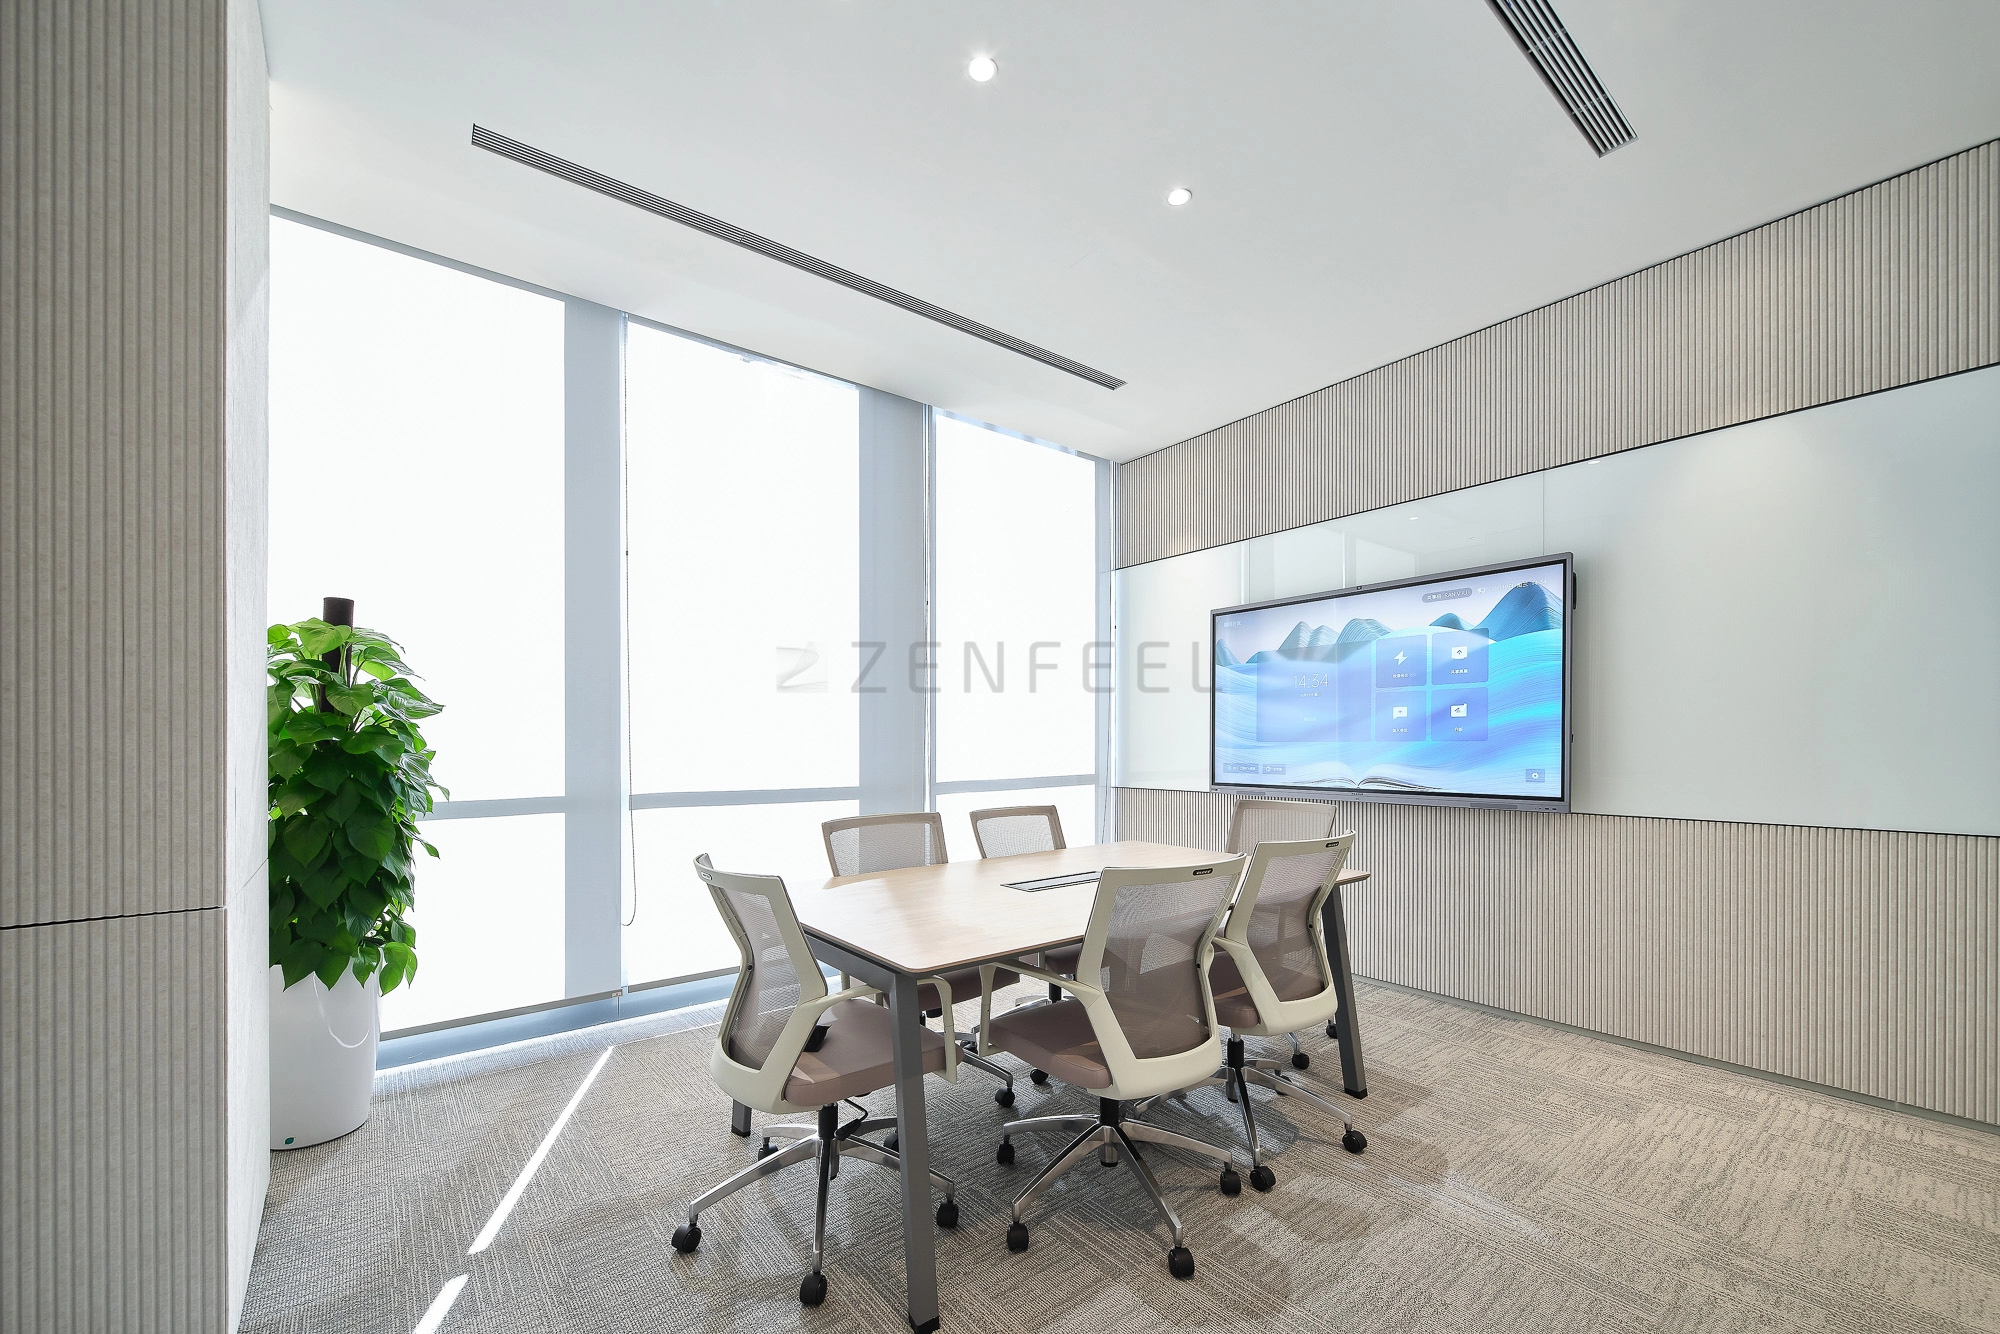
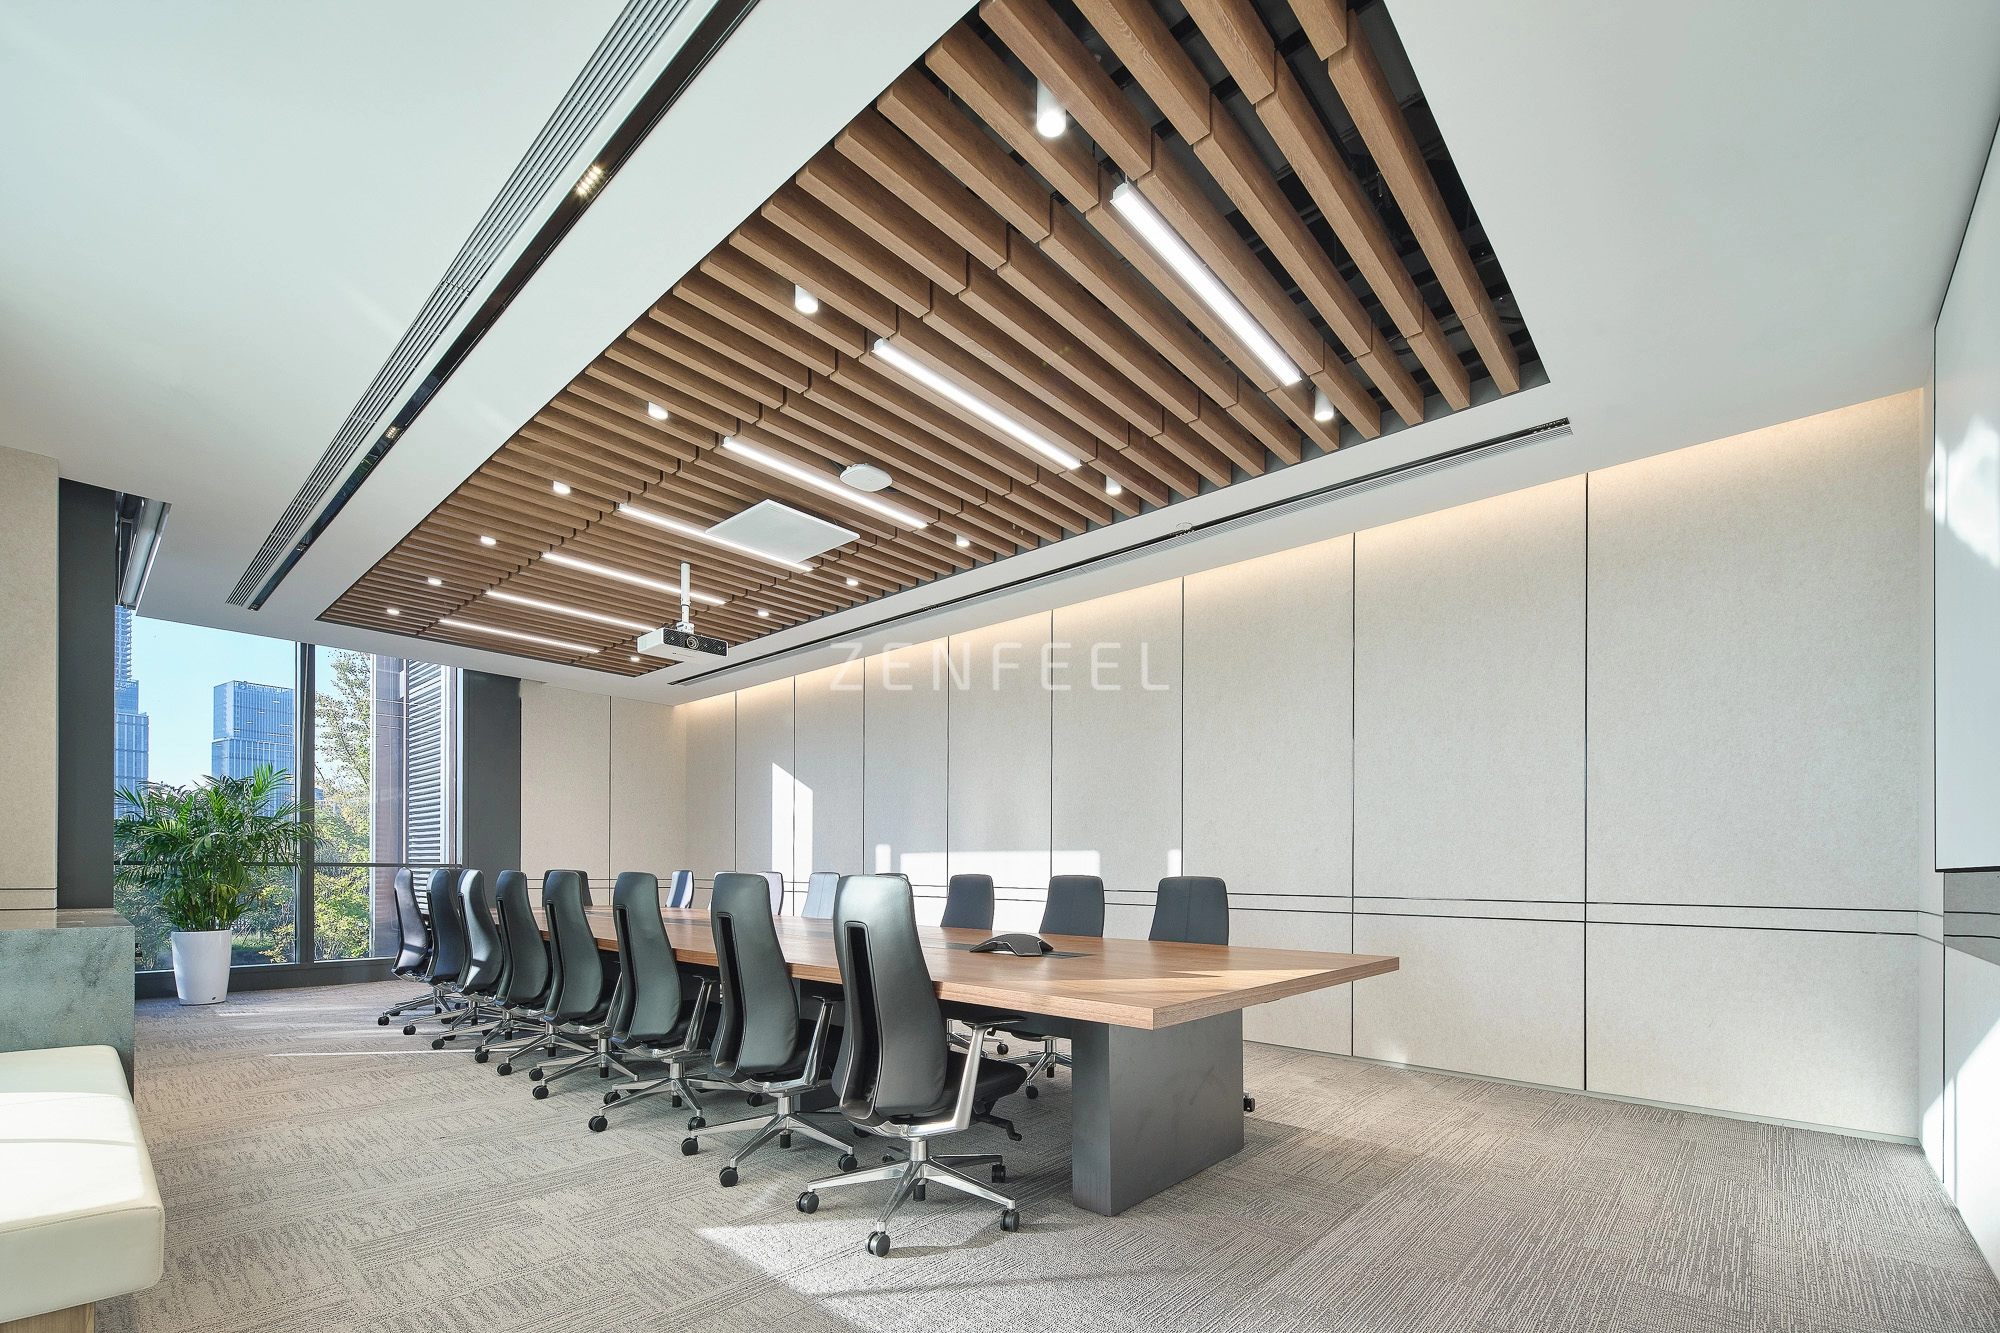
Good acoustic performance does not come from choosing the right panel alone. Even high-quality noise-reduction acoustic panels may deliver limited results if they are installed in the wrong locations, placed too far apart, or selected without considering the room's actual acoustic problems. Proper installation helps acoustic panels absorb unwanted reflections, reduce reverberation, improve speech clarity, and create a more comfortable indoor environment.
Whether the project involves an office, conference room, classroom, recording space, restaurant, studio, or industrial facility, the installation process should begin with an understanding of how sound behaves inside the room. This guide explains how to plan, position, install, and maintain noise-reduction acoustic panels for better acoustic control.
What Do Noise-Reduction Acoustic Panels Do?
Noise-reduction acoustic panels are designed primarily to absorb sound energy inside a room. Unlike structural soundproofing systems, which are intended to limit sound transmission between spaces, acoustic panels mainly address the sound that is already present within a room.
When people speak, equipment operates, or other sounds are produced, some of the sound energy is reflected by hard surfaces such as walls, ceilings, floors, glass, and furniture. Multiple reflections can create excessive reverberation and make a room sound harsh or noisy.
Acoustic wall panels provide a sound-absorbing surface that reduces some of these reflections. Depending on the panel material, thickness, mounting method, and placement, they can contribute to better control of reflected sound.
For this reason, noise reduction acoustic panels are commonly used in:
The goal is not necessarily to make a room completely silent. Instead, the objective is to create a more controlled acoustic environment.
Step 1: Identify the Main Acoustic Problem
Before installing acoustic wall panels, determine what you are trying to improve.
A room may have several acoustic problems, but they do not always require the same solution. For example, an office may suffer from excessive speech reflections, while an industrial space may have continuous equipment noise. A restaurant may have a combination of conversations, tableware noise, and hard-surface reflections.
Start by considering the following questions:
Does speech sound unclear?
Does sound continue to echo after the source stops?
Are conversations difficult to understand?
Does the room feel excessively loud when several people are speaking?
Are there large areas of glass, concrete, or other reflective surfaces?
Is the problem concentrated in specific areas?
Is noise coming from another room or outside the building?
This last question is particularly important. If the primary problem is sound transmission through a wall, door, ceiling, or window, noise-reduction acoustic panels alone may not solve it. They are mainly intended for controlling sound within the room rather than blocking sound from passing through building structures.
Step 2: Evaluate the Room Before Installing the Panels
The room itself has a major influence on acoustic performance.
Measure the approximate length, width, and height of the space. Then identify major reflective surfaces. Large glass windows, bare walls, polished floors, concrete ceilings, and other hard surfaces can contribute significantly to sound reflections.
Furniture should also be considered. Soft furniture, curtains, carpets, bookshelves, and other irregular surfaces may already provide some degree of sound absorption or diffusion.
A simple room assessment can help determine where additional acoustic treatment is most useful.
For larger commercial or industrial projects, it can be worthwhile to conduct a professional acoustic assessment. This may include measurements of reverberation time, sound pressure levels, speech intelligibility, and frequency response.
The more accurately the acoustic problem is identified, the easier it becomes to select an appropriate combination of noise-reduction acoustic panels.
Step 3: Choose the Right Acoustic Panel Type
Not every acoustic panel performs in exactly the same way.
Noise-reduction acoustic panels can be manufactured using materials such as PET fiber, fiberglass, mineral fiber, foam, wood-based acoustic materials, or other sound-absorbing constructions. Panel thickness, density, surface structure, and backing design can all influence performance.
For general wall treatment, thicker and more porous materials are often useful for absorbing a broader range of sound frequencies. However, the best choice depends on the acoustic requirements of the room.
When comparing products, consider:
For commercial projects, fire safety and durability should be considered alongside acoustic performance. In areas with frequent human contact, the panel surface should also be durable and easy to maintain.
Step 4: Determine How Much Panel Coverage You Need
One of the most common installation mistakes is assuming that covering one small section of a wall will automatically solve the entire acoustic problem.
The required amount of acoustic treatment depends on the room size, existing absorption, room geometry, panel performance, and target acoustic conditions.
A useful starting point is to calculate the total wall or ceiling area available for treatment and then determine an appropriate percentage for acoustic coverage. However, there is no universal coverage percentage that works for every room.
For example, a small meeting room with many hard surfaces may require more treatment than a furnished office of the same size. Similarly, an industrial room with high background noise may require a different acoustic strategy from a classroom.
Rather than simply installing as many panels as possible, focus on where sound reflections are creating the biggest problems.
Step 5: Find the Most Important Reflection Points
Panel positioning is just as important as panel quantity.
In many rooms, one of the most useful installation strategies is to treat areas where sound from the primary source reflects toward listeners.
For a conference room, for example, wall panels can be positioned around the main speaking area and on opposing walls where speech reflections are likely to occur.
For a classroom, acoustic treatment may be placed on side walls and rear walls to reduce excessive reverberation and improve speech clarity.
In an office, panels can be distributed around work areas to help reduce reflected conversations and general background noise.
Avoid placing every panel in one concentrated area unless the acoustic assessment specifically calls for it. A more balanced distribution can often provide better overall acoustic control.
Step 6: Consider the Ceiling as Well as the Walls
Walls are not the only surfaces responsible for sound reflections.
A hard ceiling can reflect a significant amount of sound back into the room. In larger spaces with high ceilings, ceiling-mounted acoustic products can therefore play an important role.
If wall space is limited, suspended acoustic panels or acoustic ceiling systems may provide additional absorption without taking up valuable wall area.
For open-plan offices, restaurants, factories, and other large spaces, combining wall-mounted noise-reduction acoustic panels with ceiling treatment can create a more balanced acoustic environment.
The choice between wall and ceiling treatment should depend on room geometry, ceiling height, lighting, ventilation, fire protection systems, and other building services.
Step 7: Decide on the Appropriate Mounting Method
Noise-reduction acoustic panels can be installed using several different mounting methods.
Common options include:
The best method depends on the panel construction and wall material.
Adhesive installation can be convenient for lightweight panels and relatively permanent applications. However, the wall surface must be clean, dry, and suitable for the selected adhesive.
Mechanical fixing may be preferable for heavier panels or installations where long-term stability is particularly important.
For commercial projects, removable mounting systems can be useful when panels need to be relocated, replaced, or accessed during future renovation work.
Always follow the mounting instructions supplied by the panel manufacturer. The installation method should be compatible with both the panel weight and the substrate.
Step 8: Prepare the Wall Surface
Proper surface preparation is essential for reliable installation.
Before mounting the panels, remove dust, grease, loose paint, and other contaminants from the installation area. If adhesive is being used, check that the wall is dry and structurally sound.
Uneven or damaged walls may require additional preparation before installation.
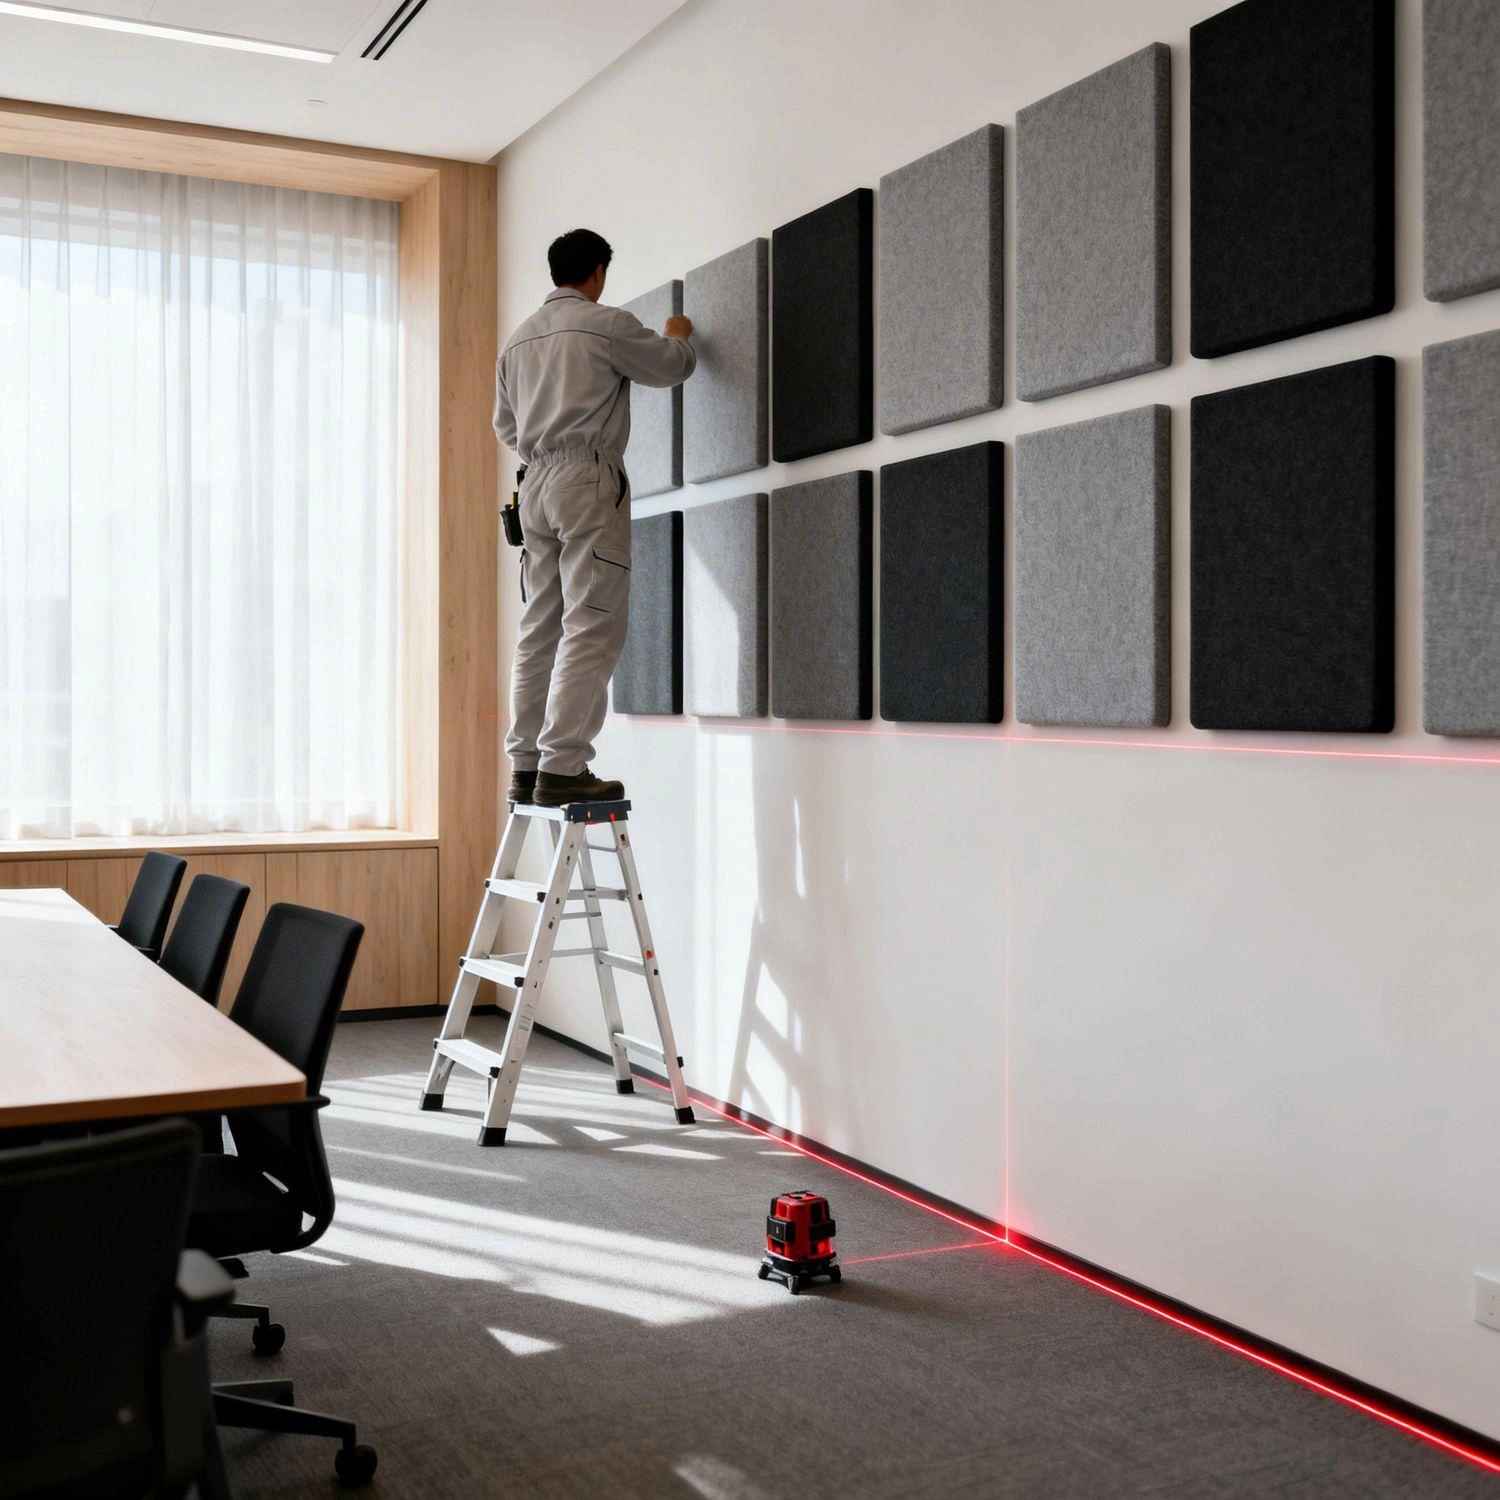
It is also useful to mark the panel positions before applying adhesive or drilling holes. Use a measuring tape, level, and suitable marking tools to ensure consistent spacing.
For a large installation, prepare a simple layout plan first. This can prevent unnecessary cutting, repositioning, and visible alignment problems.
Step 9: Plan Panel Spacing and Layout
Panels do not always need to be installed edge-to-edge.
Spacing between panels can be used as part of the overall design, provided that the acoustic treatment remains appropriate for the room.
When creating a layout, consider:
In offices and commercial interiors, acoustic panels are often used as part of the interior design. Different shapes, sizes, colors, and arrangements can create a visually attractive installation while providing useful sound absorption.
However, appearance should not completely determine the layout. A beautiful panel arrangement may perform poorly if it ignores the room's major reflection areas.
Step 10: Install the Panels Carefully
Once the layout has been confirmed, begin installation according to the selected mounting method.
For adhesive installation, apply the recommended amount of adhesive evenly and press the panel firmly against the prepared surface. Allow sufficient curing time before placing additional loads or disturbing the panel.
For mechanically mounted panels, make sure fasteners are properly anchored to the wall structure. Heavy acoustic panels should never be supported by unsuitable anchors.
During installation, regularly check alignment. Small positioning errors can become very noticeable across a large wall.
For ceiling-mounted systems, safety is even more important. Suspension hardware should be correctly rated for the panel weight and building conditions. Ceiling-mounted products should not interfere with lighting, sprinklers, ventilation, or other building systems.
Step 11: Pay Attention to Corners and Large Reflective Surfaces
Corners can sometimes create strong sound reflections, particularly in rooms with many hard surfaces.
Acoustic treatment near corners can therefore complement wall panels, depending on the room's acoustic requirements.
Large glass surfaces also deserve attention. Windows and glass partitions are highly reflective, so placing sound-absorbing materials nearby can help reduce the overall amount of reflected sound.
However, do not block windows, doors, emergency equipment, ventilation openings, or access panels simply to increase acoustic treatment.
Good acoustic design should work together with the practical requirements of the building.
Step 12: Use Different Panel Locations for Different Applications
The ideal arrangement of noise-reduction acoustic panels varies according to the room.
Open-Plan Offices
Open offices often have many simultaneous conversations. Panels can be distributed around work areas, meeting zones, and circulation spaces to reduce reflected sound.
In addition to wall panels, ceiling-mounted acoustic products and desk screens may be considered where appropriate.
Conference Rooms
Speech clarity is usually a major priority. Panels can be positioned on walls surrounding the meeting area to reduce excessive reflections and reverberation.
The objective is to make conversations easier to follow without making the room acoustically dead.
Classrooms
Teachers need their voices to reach students clearly. Wall and ceiling treatment can help control reverberation and reduce distracting reflections.
Acoustic panels should be distributed rather than concentrated in a single decorative area.
Restaurants
Restaurants can become extremely noisy when conversations, kitchen activity, music, and tableware sounds overlap. Acoustic panels can be installed on walls or ceilings while being integrated with the restaurant's interior design.
Material selection should also consider cleaning, durability, and fire performance.
Industrial Spaces
Factories and workshops may have large volumes, hard surfaces, and continuous equipment noise. Acoustic panels can help reduce reflected sound within the building.
However, industrial noise control often requires a broader strategy that may include equipment enclosures, barriers, vibration control, and hearing protection.
Step 13: Avoid Common Installation Mistakes
Several mistakes can reduce the effectiveness of noise-reduction acoustic panels.
Installing Too Few Panels
A few decorative panels may improve the appearance of a room without providing enough absorption to produce a noticeable acoustic improvement.
Treating Only One Wall
Sound reflections occur throughout a room. Treating only one wall may leave other major reflective surfaces untreated.
Ignoring the Ceiling
In rooms with hard ceilings, wall treatment alone may not provide sufficient acoustic control.
Choosing Panels Only by Appearance
Color and shape are important for interior design, but acoustic performance should remain a primary consideration.
Using the Wrong Mounting System
An unsuitable adhesive or fastening method can lead to panel failure, particularly with heavier products.
Covering Building Services
Panels should never obstruct fire safety equipment, ventilation, electrical access, doors, windows, or maintenance points.
Expecting Soundproofing
Acoustic absorption and sound isolation are different functions. Noise-reduction acoustic panels can reduce reflected sound inside a room, but they are not a substitute for a properly designed soundproofing assembly.
Do Acoustic Panels Need an Air Gap?
An air gap behind an acoustic panel can sometimes improve its absorption performance, particularly at lower frequencies.
When a panel is mounted away from the wall, the additional air space can increase the effective absorption area. The exact effect depends on the panel material, thickness, mounting configuration, and target frequency range.
For this reason, some acoustic installations use brackets, furring systems, or other mounting hardware to create a controlled gap behind the panel.
However, the optimal configuration should be based on the product's tested performance rather than assuming that a larger gap is always better.
How to Check Whether the Installation Is Working
After installation, listen to the room under normal operating conditions.
Pay attention to whether:
Speech sounds clearer
Echoes are reduced
Conversations feel less tiring
Background noise is less distracting
The room feels less harsh
Reverberation has decreased
For professional projects, acoustic measurements can provide a more objective assessment.
Reverberation time, sound absorption, speech intelligibility, and sound pressure levels can be measured before and after installation to evaluate the improvement.
This is particularly useful for commercial buildings, educational facilities, studios, and industrial projects where acoustic performance needs to meet specific requirements.
How to Maintain Noise-Reduction Acoustic Panels
Maintenance requirements depend on the panel material and surface finish.
Dust can gradually accumulate on exposed acoustic surfaces, especially in offices, factories, and commercial spaces. Regular cleaning helps maintain the appearance of the panels.
For fabric-covered products, follow the manufacturer's cleaning recommendations. Avoid excessive moisture unless the material is specifically designed for wet cleaning.
Damaged panels should be inspected and replaced when necessary. If a panel becomes loose, repair the mounting system rather than simply adding adhesive around the edges.
Regular inspection is particularly important in high-traffic environments where panels may be exposed to accidental impact.
Final Considerations for Better Acoustic Control
Installing noise-reduction acoustic panels is not simply a matter of attaching panels to an empty wall. Effective acoustic treatment begins with identifying the room's noise and reflection problems, selecting suitable materials, calculating an appropriate amount of treatment, and positioning panels where they can provide the greatest benefit.
For many projects, a combination of wall-mounted and ceiling-mounted acoustic treatment provides better results than relying on one type of installation. Panel thickness, mounting distance, room geometry, surface materials, and furniture should all be considered as part of the acoustic design.
Most importantly, distinguish between sound absorption and sound isolation. Noise-reduction acoustic panels are highly useful for controlling reflections and reverberation inside a room, but they should be combined with structural soundproofing measures when the goal is to prevent noise from entering or leaving the space.
With careful planning and proper installation, acoustic panels can become an effective part of a broader noise-control strategy, helping offices, classrooms, meeting rooms, commercial spaces, and industrial environments achieve clearer and more comfortable acoustic conditions.




 +86 18963687089

 en
en it
it es
es hu
hu ja
ja sv
sv pt
pt ms
ms ko
ko ru
ru fr
fr de
de ar
ar